This is my first post for 2021, so I would like to take this opportunity to say “happy new year” to everyone. I don’t think it is too late to say that as we just cerebrated the Chinese New Year last week! – Charinya Ruecha of @charinyas_kitchen
I was thinking what I should share with you this time, and when I saw beautiful garlic chives in my garden I came up with an idea.
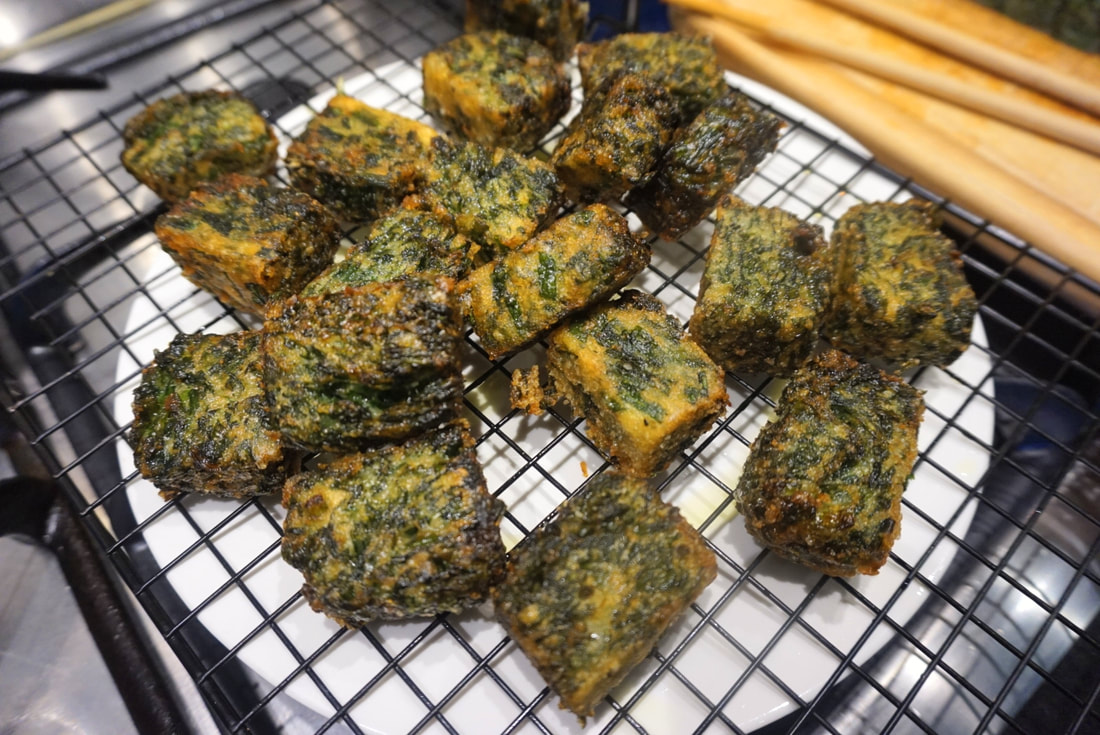
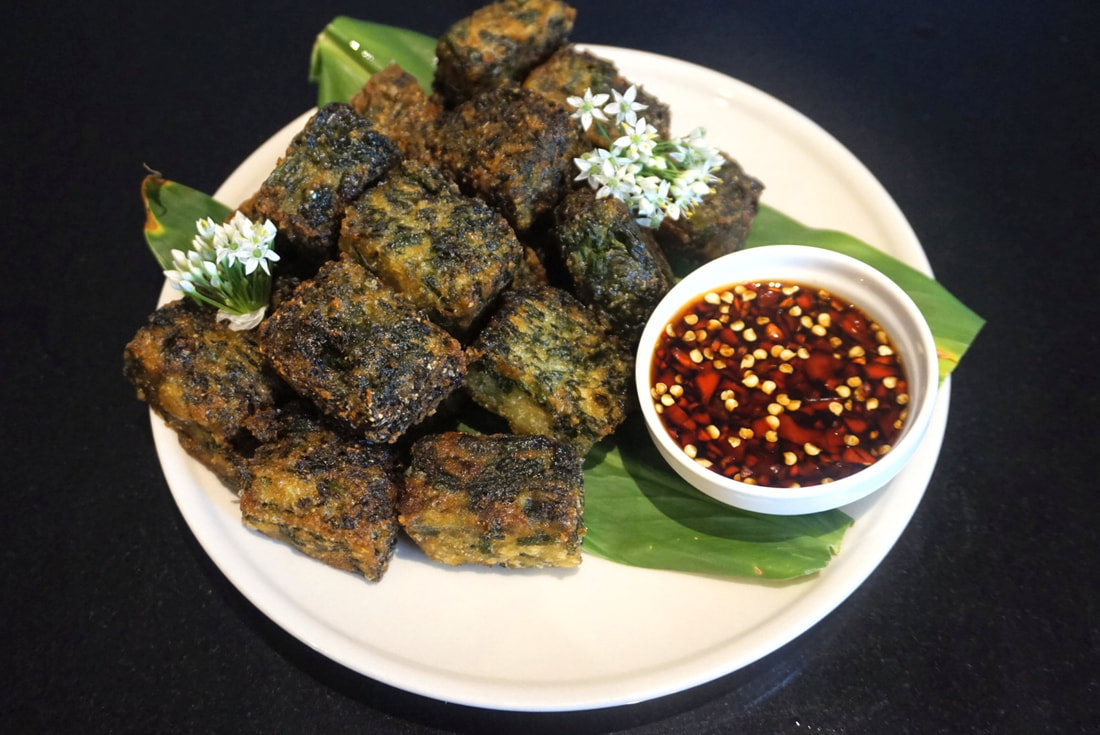
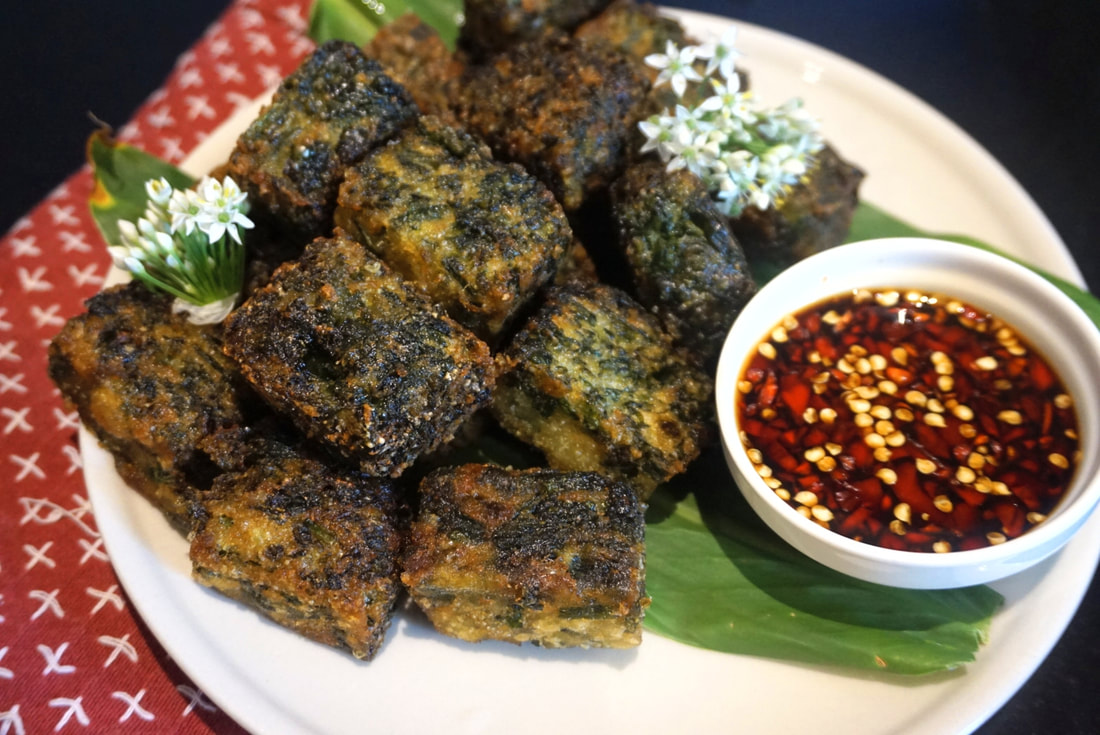
The dish I will share is kanom gui chai todd which is fried crisp and chewy garlic chive cake accompanied by sweet & sour dipping sauce. This recipe is so easy and can be made ahead of time.
|
|
|
|


The recipe for the garlic chives is from my Thai foodie friend translated from the original in Thai language. I have tried it many times and love having it with my secret sauce.The pairing works so well together so I would like to share it with you.
Ingredients
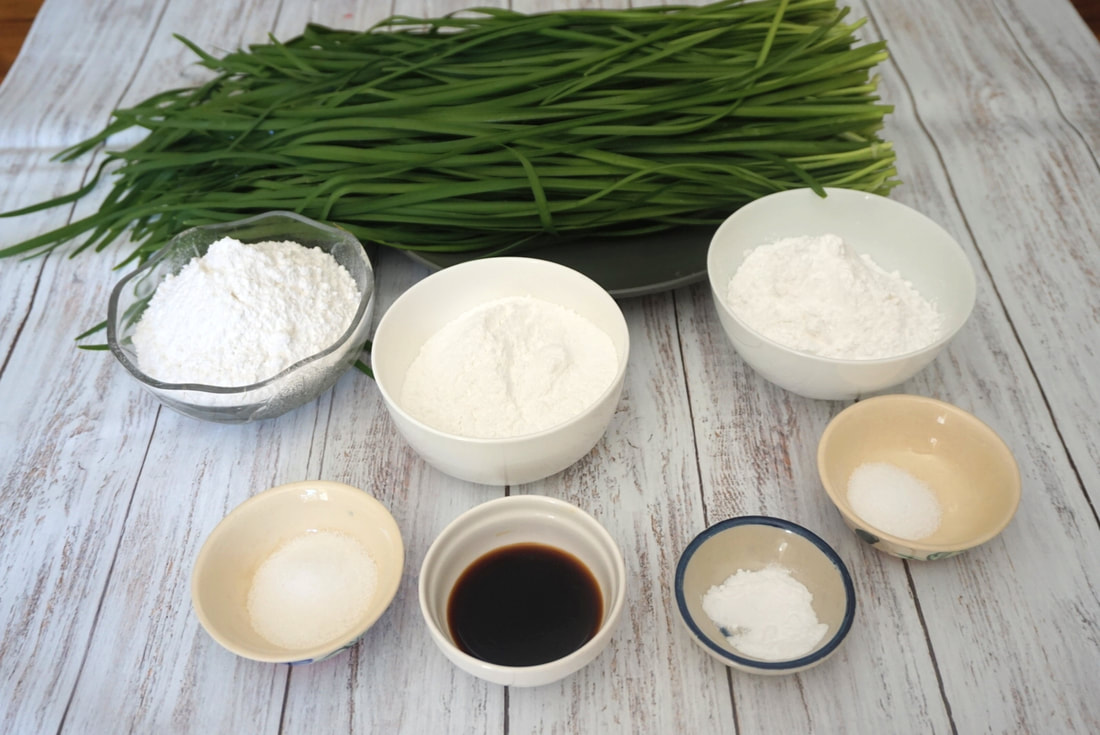
- 300g Garlic chives
- 1 teaspoon Baking soda
- 1 teaspoon Salt
- 1 tablespoon Sugar
- 1 tablespoon Soy sauce
- 110g Rice flour
- 80g Glutinous rice flour
- 80g Tapioca flour
- 250ml water
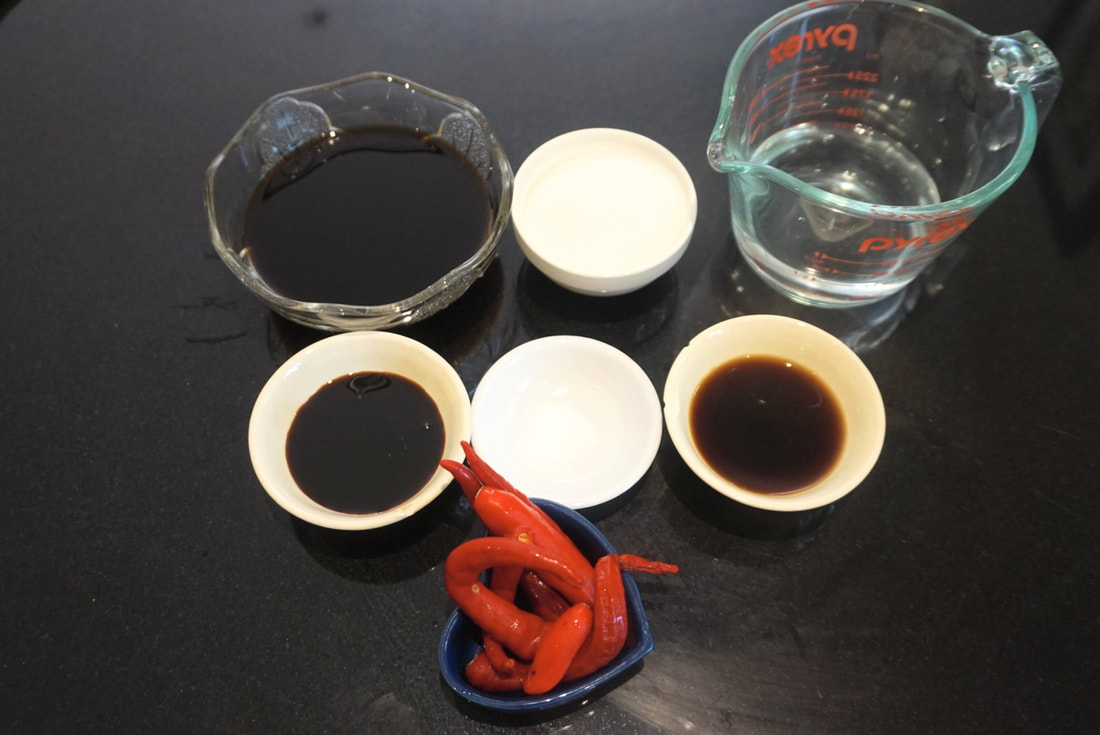
For dipping sauce
- ½ cup Black vinegar
- ¼ cup Sugar
- 2 tablespoon Sweet dark soy sauce
- 2 tablespoon Soy sauce
- ½ teaspoon Salt
- 100ml Water
- Crushed red chilli
Method
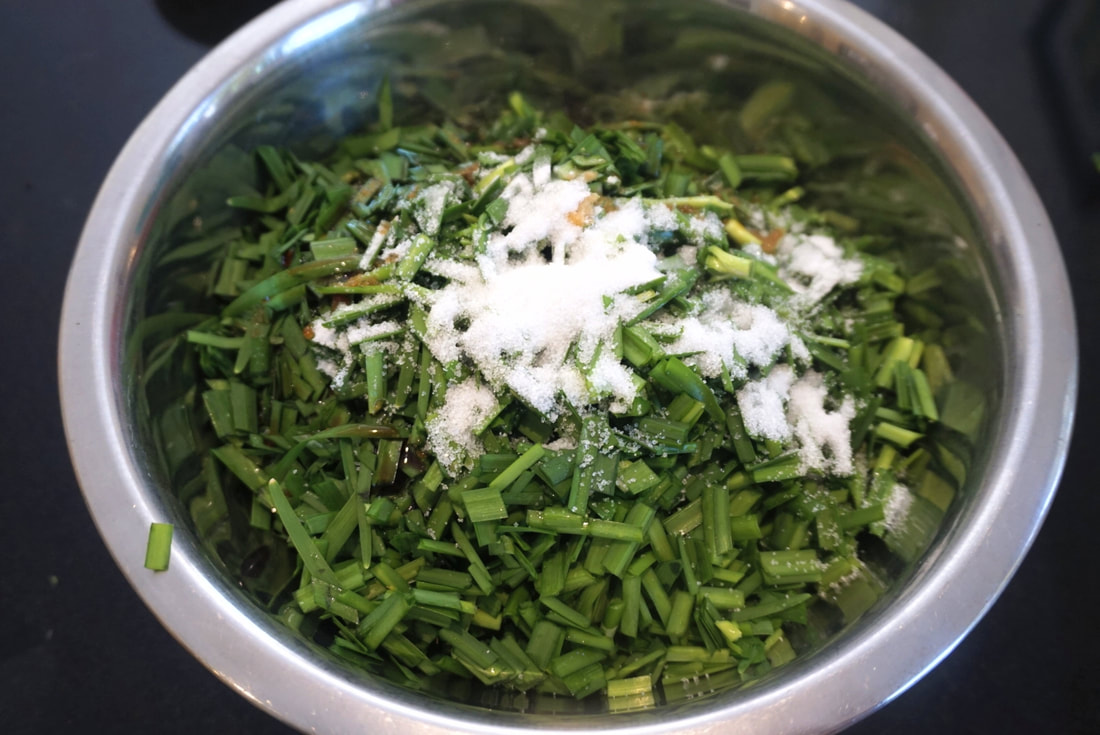
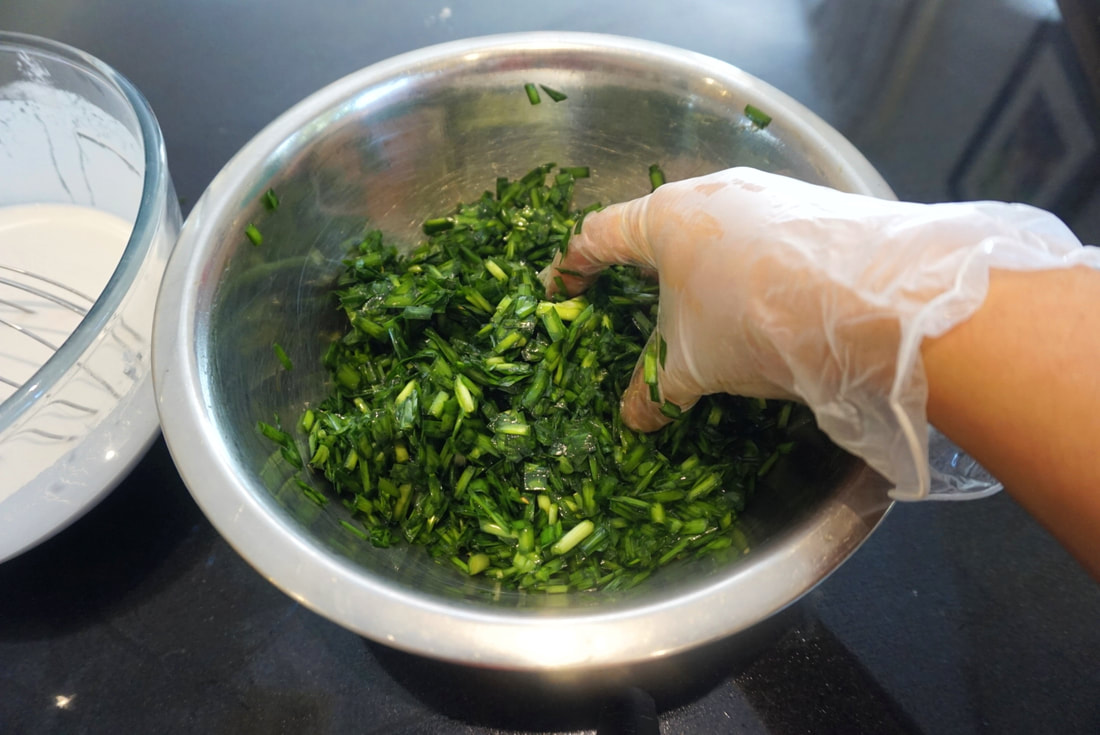
1. Wash the garlic chives and cut into about 1cm lengths and add into a bowl.
2. Add baking soda, salt, sugar and soy sauce then mix well by hand and set aside.
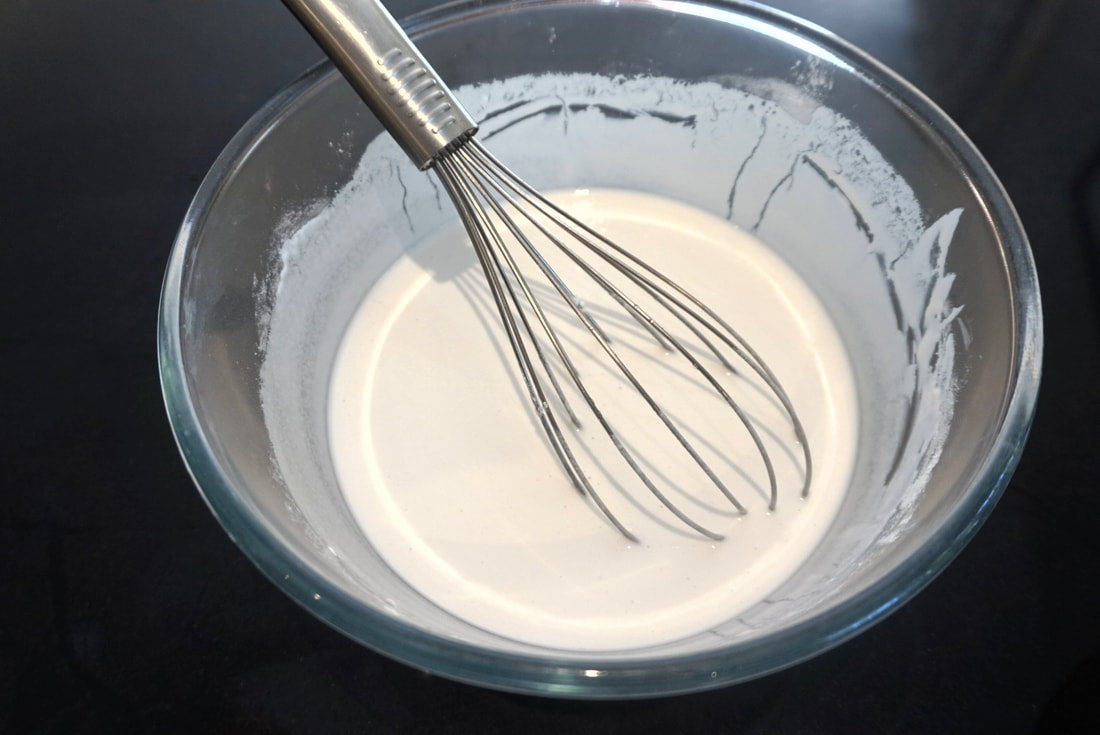
3. In another bowl mix all the flours with water until you get a smooth batter.
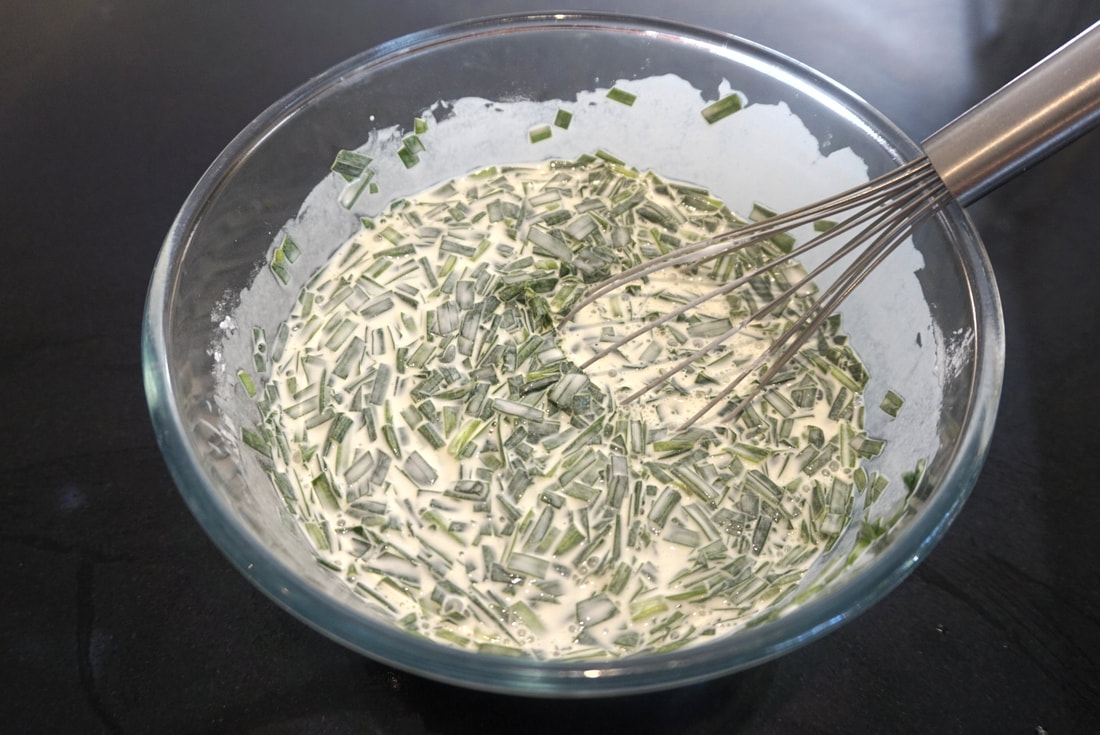
4. Add the garlic chives to the flour and discard the liquid. Mix well.
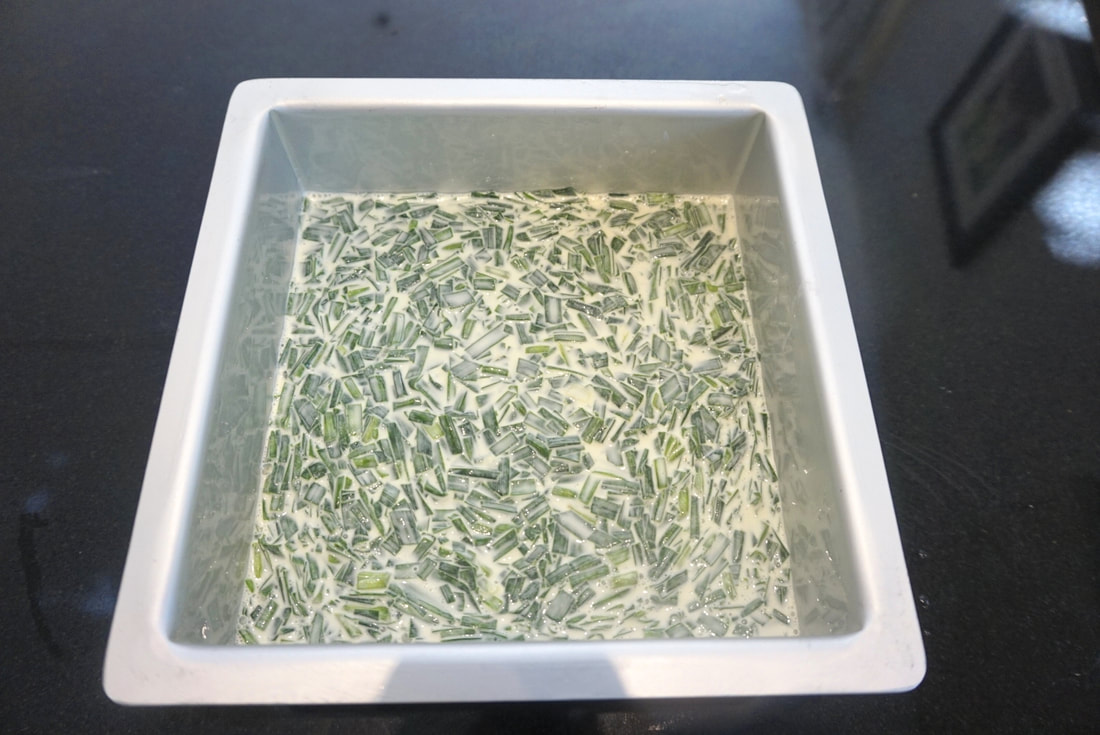
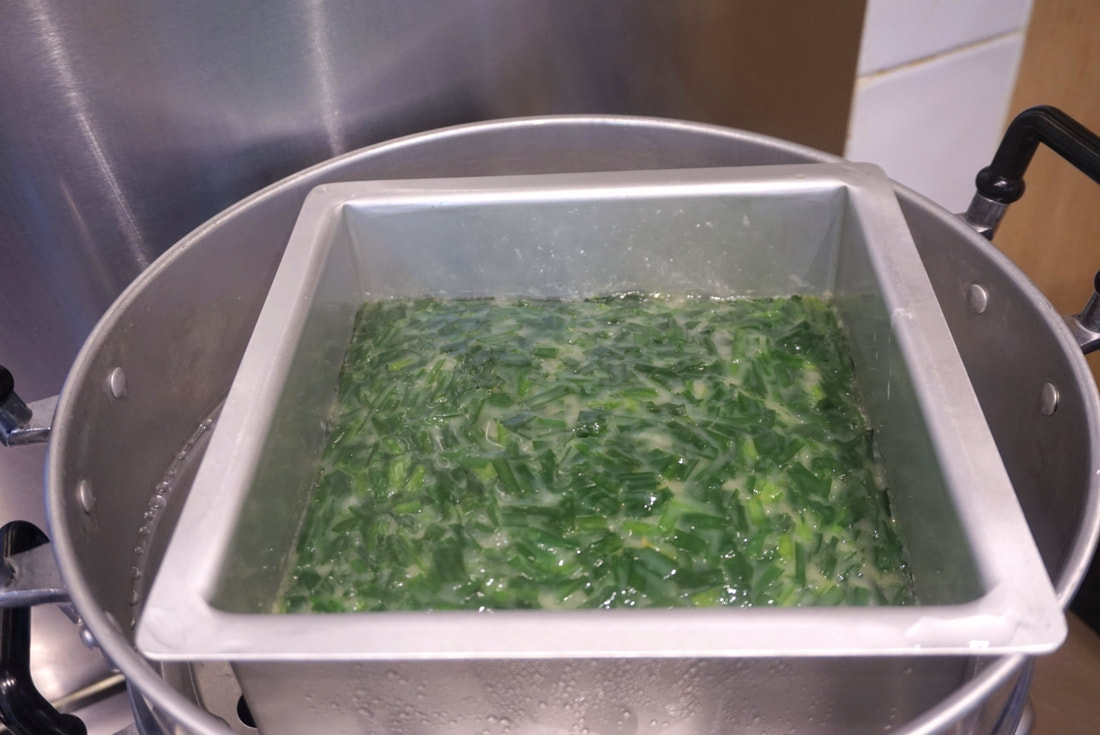
5. Prepare a tray or pan for steaming. Brush with cooking oil.
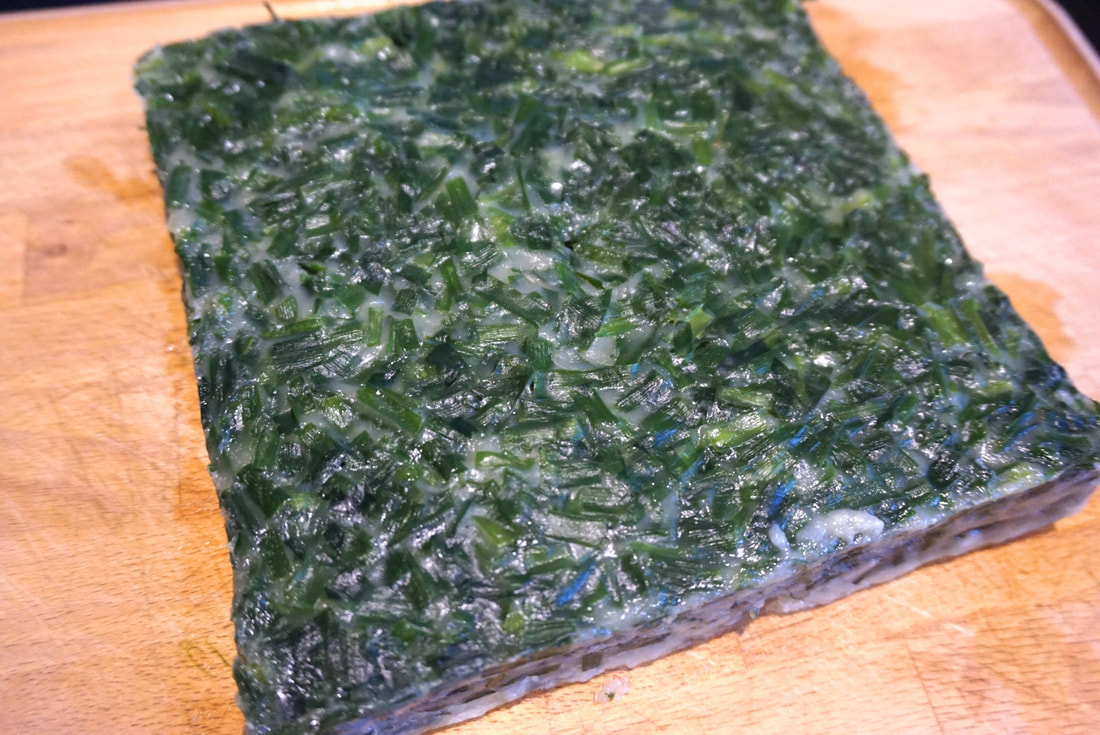
6. Steam the mixture over high heat for 25-30 minutes or until the cake turns slightly
translucent and a toothpick inserted into the middle of the cake comes out clean.
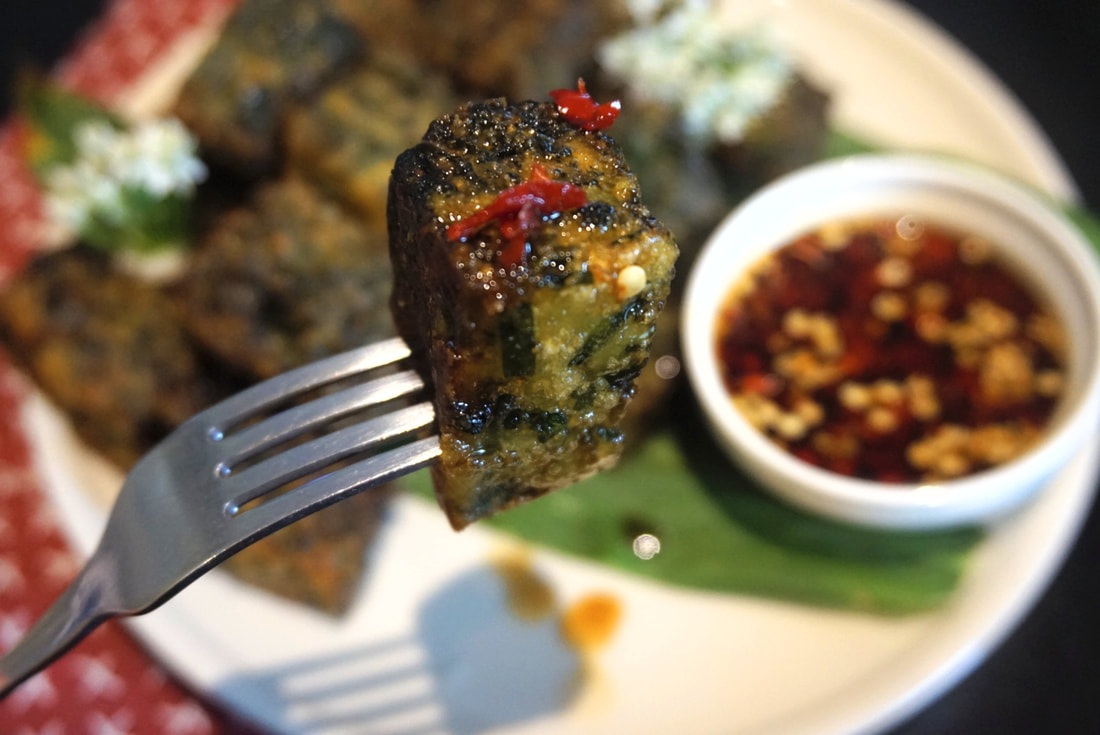
7. Leave the steamed garlic chives until completely cool before cutting into small pieces. Cut
into smaller pieces if you like the crispy texture or bigger pieces if you prefer soft and
chewie.
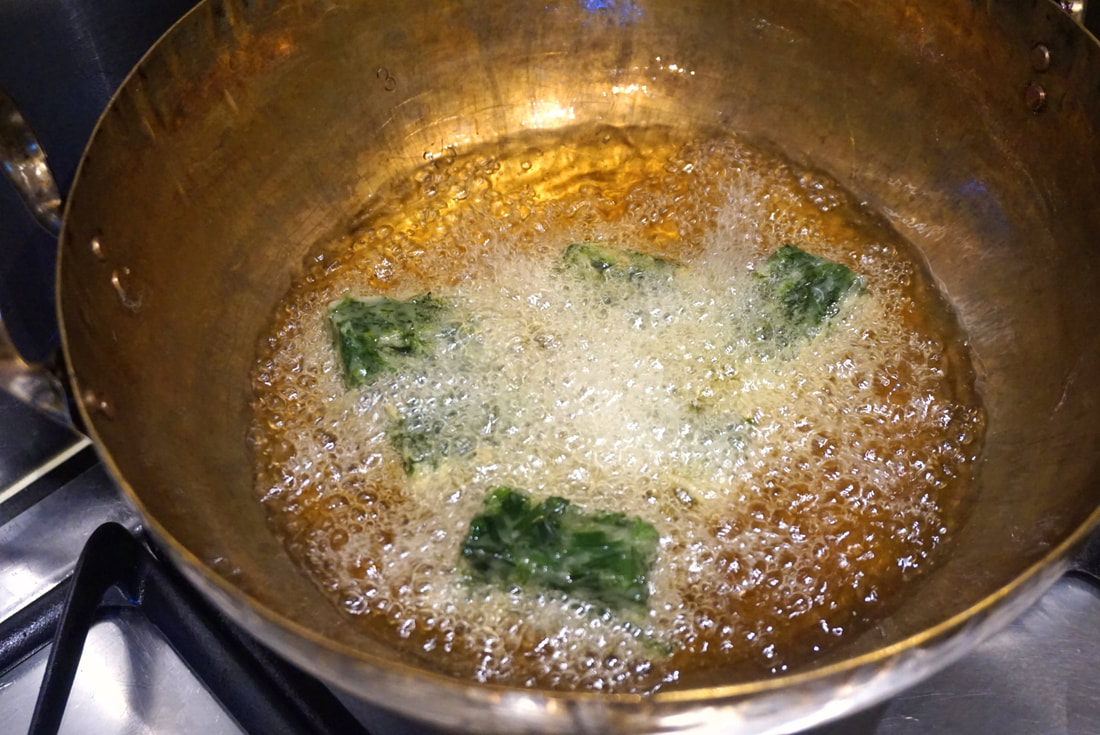
8. Fry the garlic chive cake until crispy and serve with the sauce.
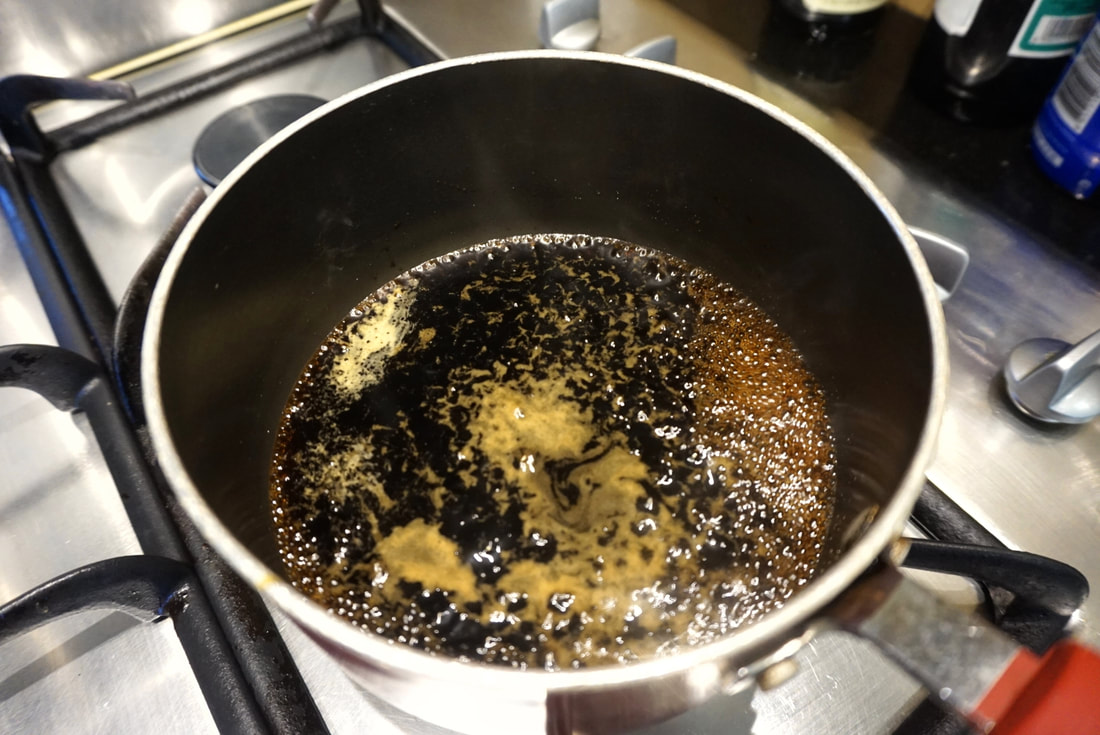
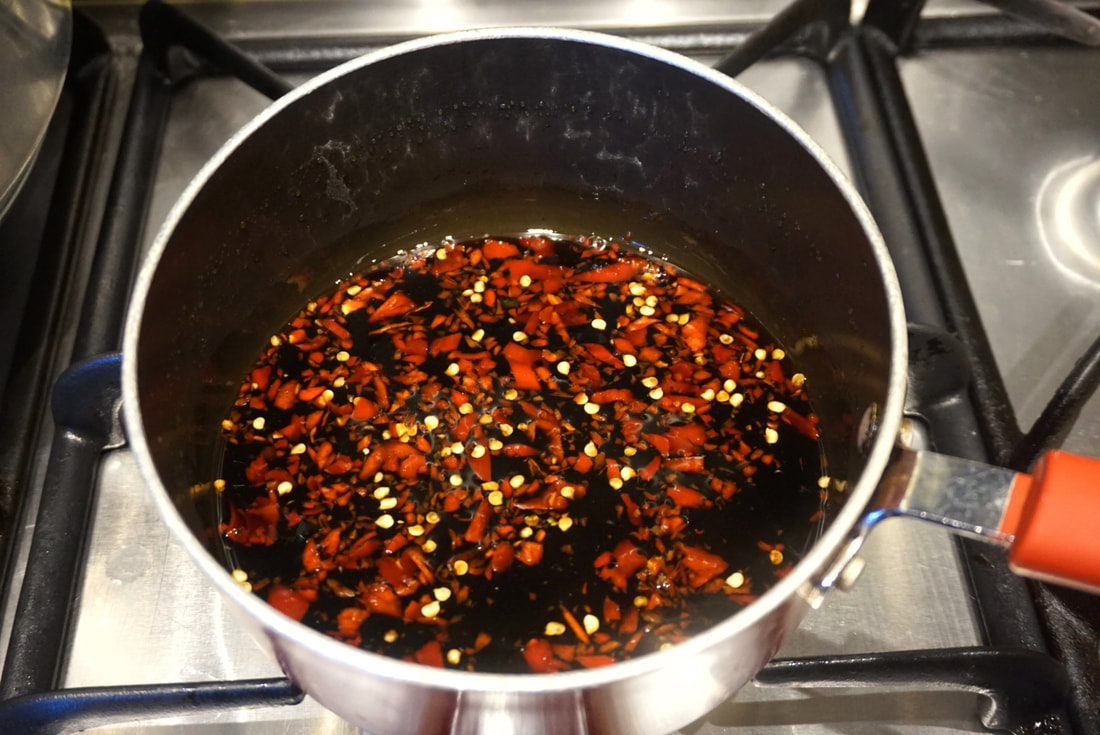
9. Make the sauce by combining all the ingredients except the chilli. Heat up the mixture until
the sugar dissolves. Add the crushed chilli when the sauce cools down.
1. Wash the garlic chives and cut into about 1cm lengths and add into a bowl.
2. Add baking soda, salt, sugar and soy sauce then mix well by hand and set aside.
3. In another bowl mix all the flours with water until you get a smooth batter.
4. Add the garlic chives to the flour and discard the liquid. Mix well.
5. Prepare a tray or pan for steaming. Brush with cooking oil.
6. Steam the mixture over high heat for 25-30 minutes or until the cake turns slightly
translucent and a toothpick inserted into the middle of the cake comes out clean.
7. Leave the steamed garlic chives until completely cool before cutting into small pieces. Cut
into smaller pieces if you like the crispy texture or bigger pieces if you prefer soft and
chewie.
8. Fry the garlic chive cake until crispy and serve with the sauce.
9. Make the sauce by combining all the ingredients except the chilli. Heat up the mixture until
the sugar dissolves. Add the crushed chilli when the sauce cools down.
Making the cake ahead of time
Making the cake ahead of time is super easy, as both the steamed garlic chives cake and the fried garlic chives cake are suitable for freezing. The key is to thaw the steamed garlic chives cake prior to pan frying. The fried version is also simple to reheat using an Air fryer at about 180c for several mins. This is my favourite way.
You can see here that I shared the dish with my neighbour and she loved it.
Check out Charinya’s awesome work here